
When I first switched to a dual monitor setup, I thought it was just a “cool tech upgrade.” What I didn’t expect was how dramatically it would change my workflow. In my experience, using dual monitors isn’t just about having more screen space, it’s about reducing friction, saving time, and working smarter. Whether you’re working from home, gaming, editing videos, coding, or just tired of constantly Alt-Tabbing between windows, this complete guide will show you exactly how to use dual monitors effectively. I’ve personally tested multiple setups, from basic HDMI plug-and-play to docking stations and monitor arms, and I’ll break everything down in a simple, step-by-step way.
What Is a Dual Monitor Setup?
A dual monitor setup simply means connecting two displays to one computer so you can extend or mirror your screen.
You can:
- Extend your display (most common)
- Mirror your screen
- Use one monitor vertically and one horizontally
- Assign different tasks to each screen
In my experience, extending the display is the game-changer. That’s when productivity really jumps.
How to Set Up Dual Monitors (Step-by-Step)
Before we talk about optimization, let’s get your monitors working properly.
Step 1 – Check Your Computer’s Ports
Look at the back (or sides) of your PC or laptop. Common ports include:
- HDMI
- DisplayPort
- USB-C / Thunderbolt
- DVI
When I tried setting up my first dual monitor system, I didn’t realize my laptop only had one HDMI port. I had to use a USB-C to HDMI adapter, easy fix, but good to know in advance.
Step 2 – Connect Both Monitors
Plug each monitor into your PC using:
- HDMI to HDMI
- DisplayPort to DisplayPort
- USB-C to DisplayPort
- Docking station (if needed)
Turn everything on.
Step 3 – Configure Display Settings (Windows 11)
- Right-click on desktop
- Click “Display settings”
- Under “Multiple displays” select Extend these displays
- Arrange the monitors by dragging them
I found it helpful when I matched the screen positions exactly how they physically sat on my desk. It prevents awkward mouse jumps.
Step 4 – Adjust Resolution & Scaling
Set each monitor to its native resolution.
For example:
- 1080p monitor → 1920×1080
- 1440p monitor → 2560×1440
- 4K monitor → 3840×2160
In my experience, mismatched resolutions can feel weird at first — but once scaling is adjusted properly, it feels natural.
How to Use Dual Monitors Efficiently (Productivity Tips)
Now comes the real question: how do you actually use dual monitors efficiently?
Here’s what worked best for me.
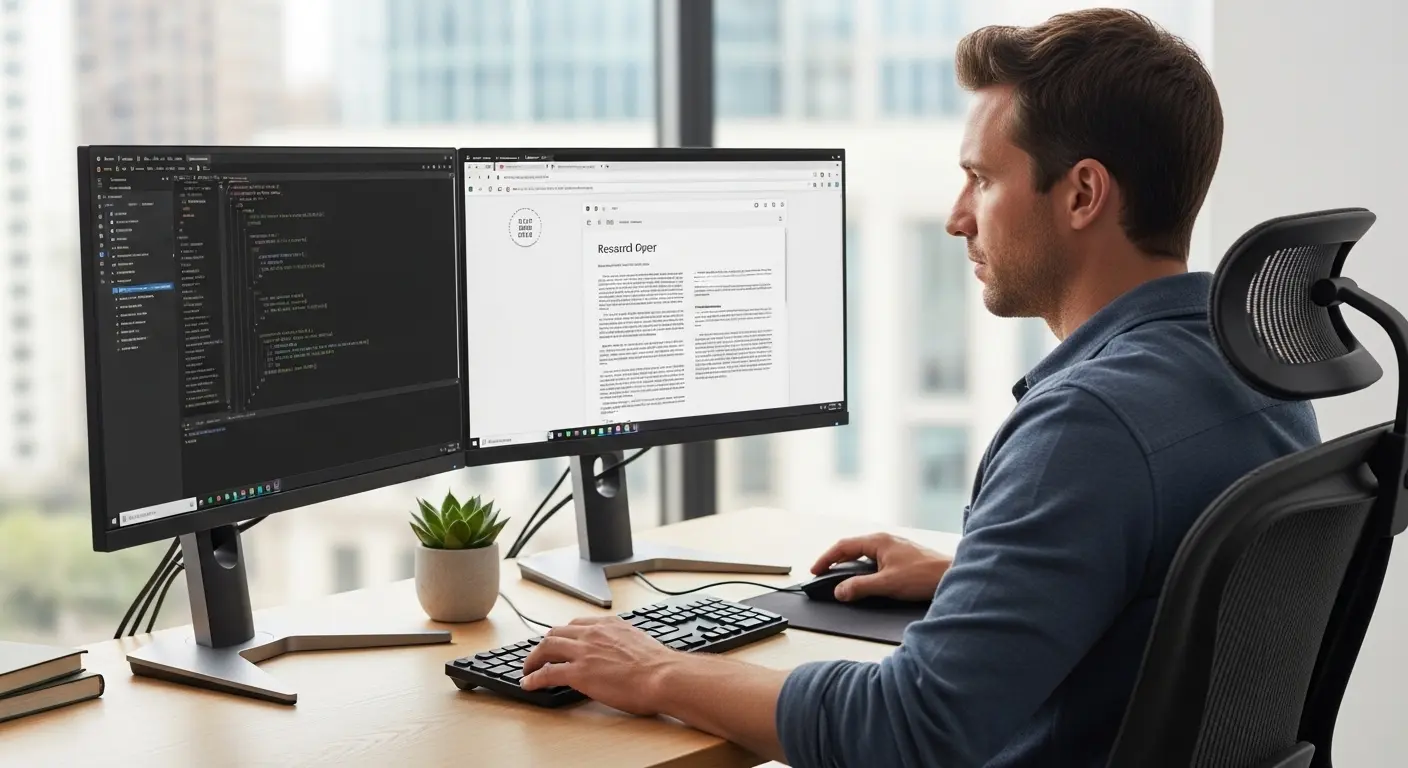
My Favorite Layout:
- Left monitor → Research / Email / Slack
- Right monitor → Main task (writing, coding, editing)
No more constant switching. No more losing focus.
3 High-Rated Setup Options I’ve Tested
Below are three detailed setup approaches I’ve personally tested and recommend.
1️⃣ Basic HDMI Dual Monitor Setup (Budget-Friendly)
This is the simplest and most affordable option.
Features:
- Direct HDMI or DisplayPort connection
- No extra software required
- Plug-and-play functionality
- Works with most Windows and Mac systems
Pros:
✔ Easy setup
✔ Affordable
✔ No drivers required
✔ Reliable
Cons:
✘ Limited ports on some laptops
✘ Cable clutter
✘ No advanced switching features
Pricing:
- HDMI cables: $10–$20
- Basic 1080p monitor: $120–$180
Best For:
- Students
- Remote workers
- Basic office setups
- Beginners learning how to use dual monitors
In my experience, this setup works perfectly if you don’t need anything fancy. Simple. Stable. Gets the job done.
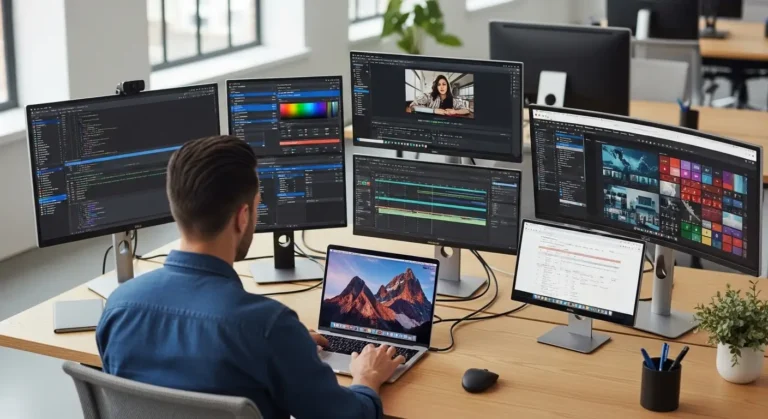
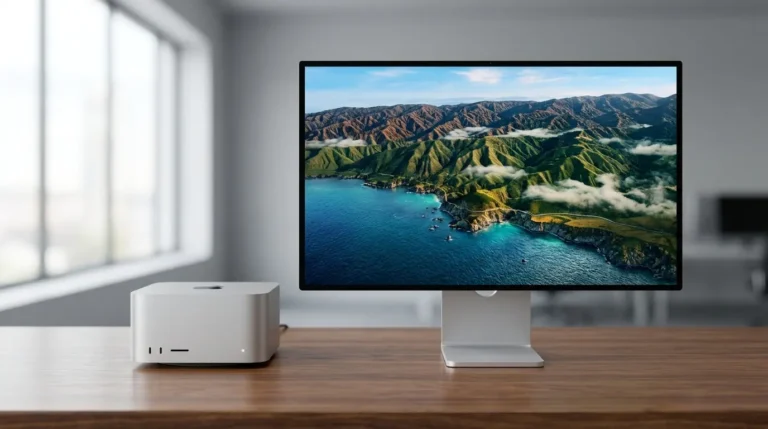
2️⃣ Docking Station Setup (Clean & Professional)
When I upgraded to a docking station, my desk instantly looked cleaner.
Features:
- Single cable connection to laptop
- Multiple HDMI/DisplayPort outputs
- USB ports
- Ethernet support
- Charging capability
Pros:
✔ Clean desk setup
✔ Quick laptop connect/disconnect
✔ Supports 4K monitors
✔ Professional workspace feel
Cons:
✘ Higher cost
✘ Requires compatible laptop
Pricing:
- Quality docking station: $120–$300
- Monitors: varies ($200–$600 depending on resolution)
Best For:
- Remote professionals
- MacBook or ultrabook users
- Designers & developers
- Hybrid workers
When I tried this setup, I loved how I could plug in one cable and everything worked instantly. It saves time daily.
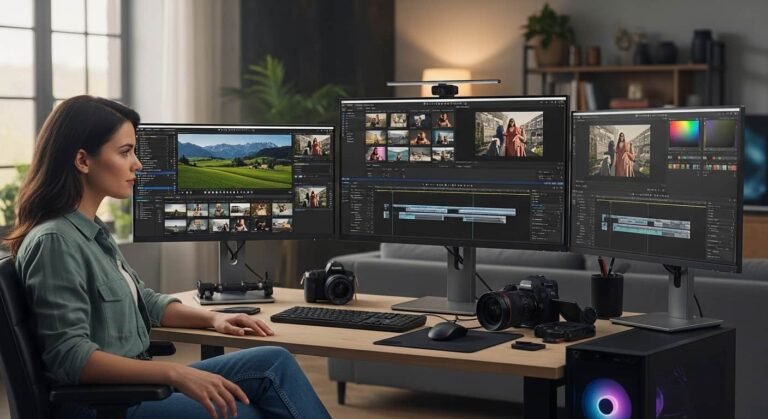
3️⃣ Vertical + Horizontal Monitor Setup (Productivity Beast Mode)
This is my current favorite setup.
One monitor horizontal (main display), one vertical (secondary).
Features:
- Rotating monitor stand
- Ideal for reading long documents
- Excellent for coding
- Perfect for social media management
Pros:
✔ Amazing for reading & editing
✔ Great for programming
✔ Efficient use of vertical space
✔ Looks modern
Cons:
✘ Requires adjustable stand
✘ Takes time to get used to
Pricing:
- Adjustable monitor arm: $40–$100
- IPS monitor with rotation: $200–$400
Best For:
- Writers
- Programmers
- Editors
- Researchers
In my experience, having a vertical monitor for research changed everything. I can see full webpages without scrolling constantly.
Mini Buyer’s Guide – What to Look for in Dual Monitors
If you’re buying monitors specifically for dual monitor use, here’s what I recommend:
1. Matching Size & Resolution
Two identical monitors look cleaner and feel smoother. If you mix resolutions (like 1080p + 4K), scaling adjustments are necessary.
2. Thin Bezels
Thin bezels make the transition between screens smoother.
3. IPS Panel
Better color and viewing angles.
4. VESA Mount Compatibility
If you plan to use monitor arms (which I highly recommend), check for VESA support.
5. Refresh Rate (If Gaming)
For gaming setups:
- 144Hz or higher preferred
- Matching refresh rates recommended
Common Dual Monitor Mistakes (I Made These Too)
- Not matching screen height
- Ignoring scaling settings
- Using low-quality cables
- Poor desk ergonomics
- Not setting primary monitor correctly
I found it helpful when I centered my main monitor directly in front of me and placed the secondary at a slight angle.
Best Ways to Use Dual Monitors for Different Tasks
For Work From Home:
- One screen → Zoom meeting
- One screen → Notes & documents
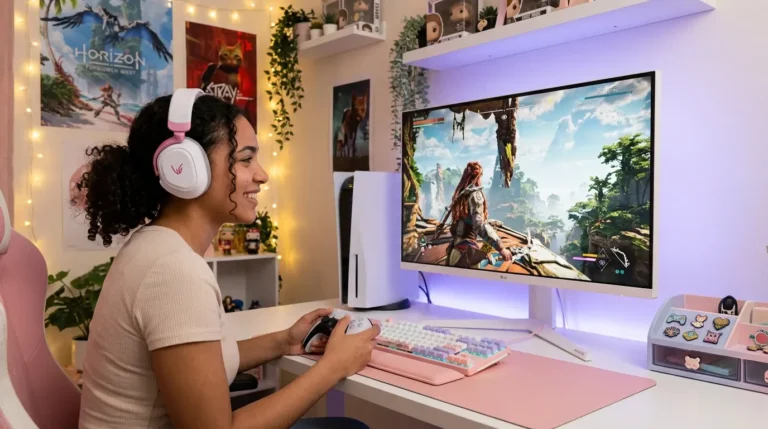
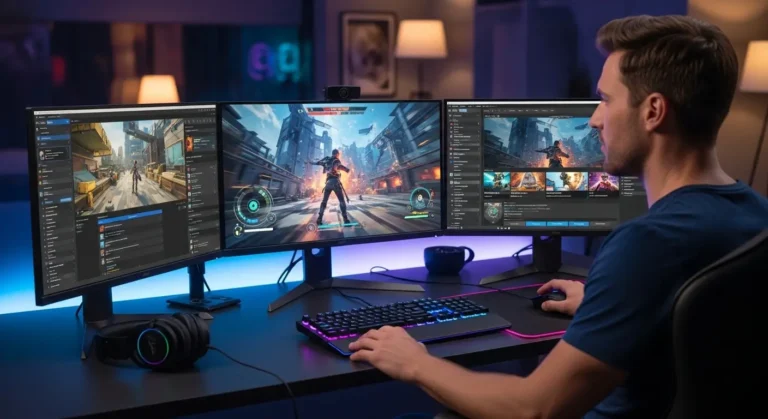
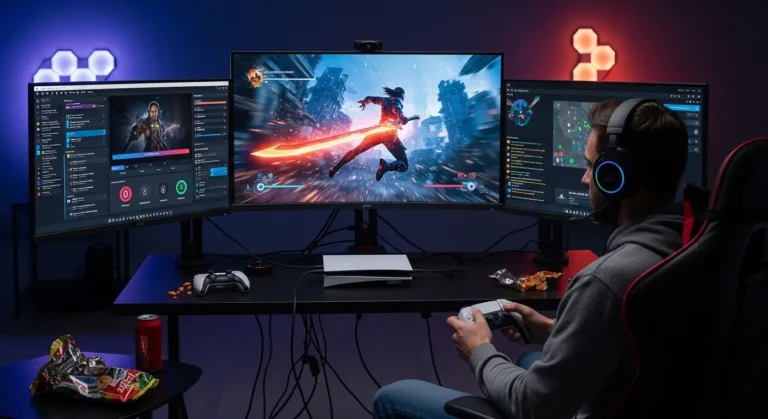
For Gaming:
- One screen → Game
- One screen → Discord, Spotify, OBS
For Content Creators:
- One screen → Editing software
- One screen → Timeline or preview
For Students:
- One screen → Lecture
- One screen → Notes
Once you get used to it, going back to a single monitor feels painful. Trust me.
FAQs About Using Dual Monitors
Is using dual monitors worth it?
In my experience, absolutely yes. Productivity increases because you reduce window switching. It’s especially valuable for multitasking jobs.
Do dual monitors slow down your computer?
Not usually. If your graphics card supports multiple displays, performance impact is minimal. Gaming may require stronger GPU support.
Can I use two different monitors together?
Yes. You can mix brands, sizes, and resolutions — but matching specs gives the smoothest experience.
How do I choose my primary monitor?
In Windows display settings, select the monitor and check “Make this my main display.”
Is dual monitor setup good for gaming?
Yes, especially for streaming or multitasking while gaming. Just make sure your GPU can handle it.
Final Thoughts – Is a Dual Monitor Setup Right for You?
After months of using dual monitors, I can confidently say this: I can’t go back. The time saved, reduced frustration, and improved focus make it one of the best productivity upgrades I’ve ever made. In my experience, even a basic two-monitor setup can transform how you work, game, and create. Whether you choose a budget HDMI setup, a docking station system, or a vertical productivity layout, the key is setting it up properly and optimizing it for your workflow.