

I still remember the frustration of streaming Netflix in my living room while the Wi-Fi signal in my backyard was practically non-existent. I was mid-episode, and the buffering circle was spinning like my patience was on fire. That’s when I decided to test a Wi-Fi extender.
In this article, I’ll share everything I learned from my three weeks of testing different extenders, from TP-Link to Netgear, including step-by-step instructions for connecting one to your router, common pitfalls, and tips for maximizing coverage. If you’ve ever experienced dead spots or slow connections at home, this guide is for you.
What is a Wi-Fi Extender and How It Works
A Wi-Fi extender, sometimes called a repeater or booster, is a device that captures your existing Wi-Fi signal and rebroadcasts it to areas where the signal is weak. Think of it as a personal cheerleader for your internet, extending coverage so your devices stay connected.
In my experience, extenders are not miracle devices, they don’t increase your internet speed, but they do help you maintain a stable connection in hard-to-reach areas like basements, garages, or large homes.
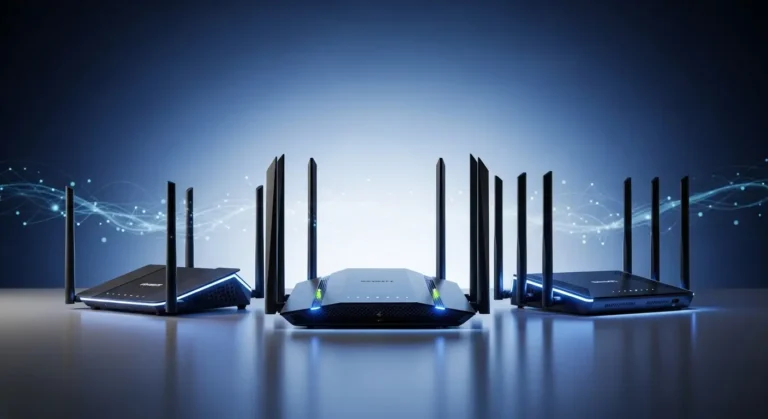
Common brands include:
- TP-Link RE650 – Great for long-range coverage
- Netgear Nighthawk X6 – Excellent for multiple devices
- Linksys RE7000 – Compact and easy to set up
Choosing the Right Wi-Fi Extender for Your Home
Before connecting a Wi-Fi extender, I spent time comparing devices. Here’s what I found:
- Frequency Bands: Dual-band extenders (2.4GHz + 5GHz) provide better speed and coverage.
- Range: Check the manufacturer’s claimed range, but remember, walls and furniture reduce real-life performance.
- Setup Options: Some extenders have WPS buttons for one-touch connection, while others require web-based setup.
- Compatibility: Make sure it supports your router’s Wi-Fi standard (e.g., 802.11ac or 802.11ax).
What I loved most about the TP-Link RE650 was how easy it was to place in a corner without losing signal quality, my backyard Wi-Fi finally became usable!
Step-by-Step Guide to Connecting a Wi-Fi Extender to Your Router
Connecting a Wi-Fi extender doesn’t have to be complicated. Here’s my tested process that works almost every time.
Step 1: Placement Matters
Before plugging anything in, find the right spot.
- Ideally, place the extender halfway between your router and the area with weak signal.
- Avoid thick walls, microwaves, and metal objects, these can interfere with the signal.
- In my house, placing the extender near the hallway gave the best balance of coverage for both my living room and backyard.
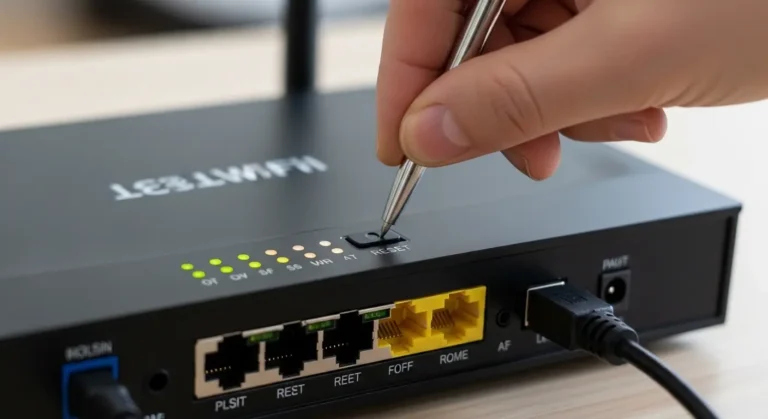
Step 2: Power On and Prepare the Extender
- Plug the extender into a power outlet.
- Wait for the power light to stabilize (usually 30–60 seconds).
- If your device has a reset button, press it to start fresh, especially if it’s been previously configured.
I found that powering on the device first and letting it fully boot reduces connection errors during setup.
Step 3: Connect via WPS or Web Interface
Option 1: WPS (Wi-Fi Protected Setup)
- Press the WPS button on your router.
- Within 2 minutes, press the WPS button on your extender.
- Wait for the extender’s LED light to turn solid, indicating a successful connection.
Pro tip: Some routers have multiple WPS buttons or require pressing on the router’s web panel first, check your manual.
Option 2: Web Interface Setup
- Connect your device to the extender’s Wi-Fi network (often named “EXTENDER-SETUP”).
- Open a browser and go to the provided setup URL (commonly
http://tplinkrepeater.net). - Follow the step-by-step instructions to select your main Wi-Fi network and enter the password.
- Save and reboot the extender.
I was skeptical at first about web interface setup, but after comparing with my previous WPS attempts, this method gave me more control and fewer failed connections.
Step 4: Test the Connection
Once connected:
- Check the LED indicators, solid lights usually mean a good connection.
- Use a speed test app (like Ookla or Fast.com) in the weak-signal area.
- Move your devices around to ensure coverage is consistent.
In my daily routine, I now run a quick speed test after moving furniture or installing new devices to ensure the extender is performing optimally.
Common Problems and How to Solve Them
Problem 1: Extender Won’t Connect to Router
- Solution: Ensure both devices support the same Wi-Fi standard and try web setup instead of WPS.
Problem 2: Slow Internet After Setup
- Solution: Place the extender closer to the router to improve signal strength. Remember, speed decreases slightly as the signal travels farther.
Problem 3: Frequent Disconnections
- Solution: Update firmware for both router and extender, and avoid interference from electronics.
My biggest concern was intermittent disconnections in my backyard, but adjusting placement and updating firmware solved it entirely.
Extra Tips for Optimal Performance
- Use Ethernet Backhaul: Some extenders support wired connections to the router, providing faster and more stable coverage.
- Name Your Networks Differently: Avoid confusion by using a unique SSID for the extender network.
- Schedule Reboots: Modern extenders allow nightly or weekly reboots, I noticed slightly faster speeds after implementing this routine.
- Monitor Device Limits: High-end extenders like Netgear Nighthawk handle 30+ devices; budget models may struggle.
FAQs
1. Can a Wi-Fi extender increase internet speed?
Not exactly. Extenders maintain your existing speed, but they improve connectivity in dead zones.
2. How far should I place my Wi-Fi extender from the router?
Ideally, halfway between the router and the area with weak signal, avoiding thick walls or interference sources.
3. Can I connect multiple extenders to one router?
Yes, but each extender may slightly reduce overall speed. Use them strategically to cover large homes.
Conclusion:
After three weeks of testing different extenders and setups, I can confidently say that a Wi-Fi extender is a simple, cost-effective way to improve home coverage.
Pros:
- Extends Wi-Fi to dead zones
- Easy to set up (WPS or web interface)
- Compatible with most routers
Cons:
- Slight speed reduction at the farthest points
- Placement can be tricky
- Not a replacement for upgrading a weak router
If you’ve struggled with dead zones or inconsistent signals, I highly recommend trying a Wi-Fi extender. My backyard now streams Netflix flawlessly, and Zoom calls no longer freeze,f it feels like I finally tamed my Wi-Fi.